
Onboarding
New layout owners start at Sign up (/signup), which continues straight into Get Started (/onboarding) — the onboarding wizard. A progress tracker shows every station on the line: Create Account → Name Layout → Choose Plan → Install Server → Ready to Drive!
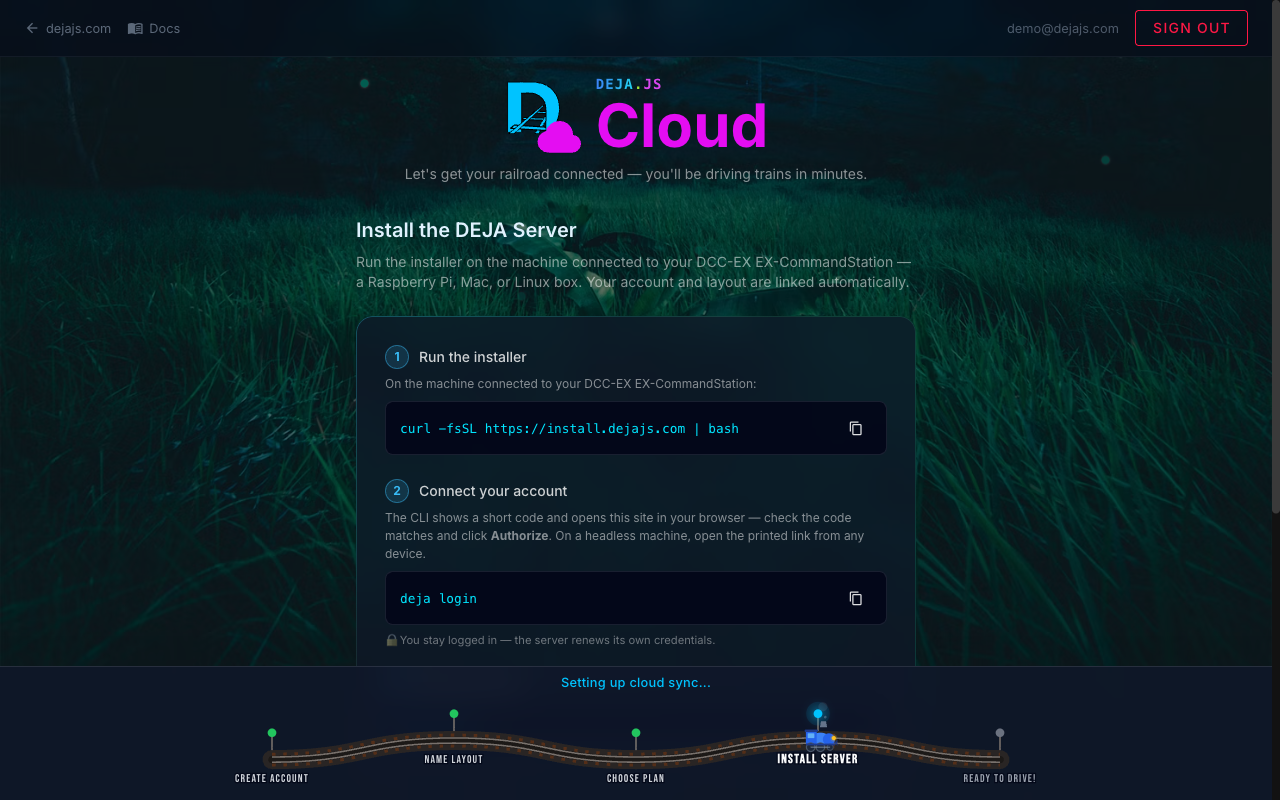
When you sign in and don't own a layout yet, Throttle opens Get Started for you. Your progress is saved to your account, so if you close the tab you pick up where you left off.
Onboarding Steps
Step 1 — Create Account
Sign up in Throttle using Google, GitHub, or email and password. The wizard starts right after — no second sign-in.
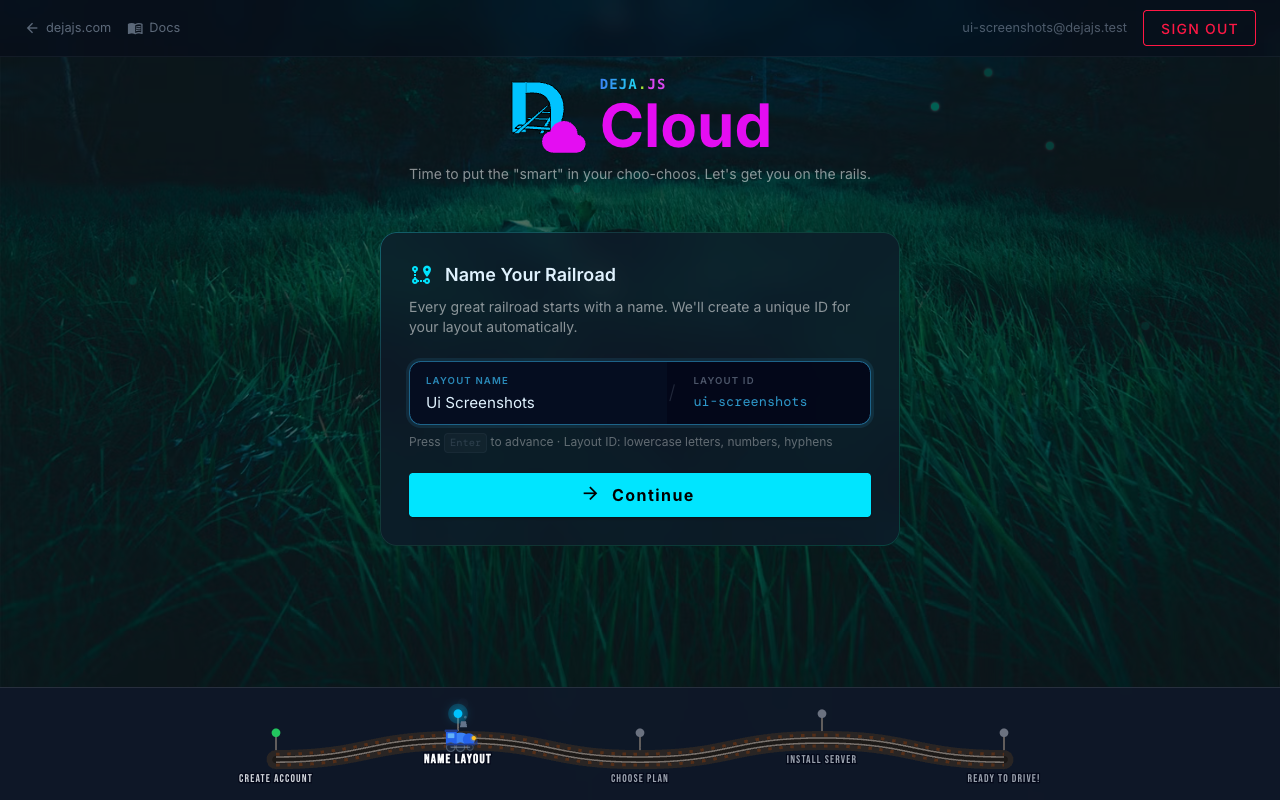
Step 2 — Name Your Railroad
Give your railroad a name — a unique layout ID is created for you automatically from the name and checked for availability.
Your layout ID scopes all data in DEJA.js — locomotives, turnouts, effects, routes, signals, and commands are all tied to this ID.
Step 3 — Choose Plan
Pick the plan that fits your layout. Hobbyist is free forever and needs no credit card; Engineer and Conductor both start with a 30-day free trial, and the wizard collects your card details for them.
| Hobbyist (free) | Engineer ($1.99/mo) | Conductor ($19.99/mo) | |
|---|---|---|---|
| Locomotives | 5 | Unlimited | Unlimited |
| Turnouts, signals & effects | 5 each | Unlimited | Unlimited |
| Sounds | Unlimited | Unlimited | Unlimited |
| Sensors & routes | 5 each | Unlimited | Unlimited |
| IO devices | 2 | 10 | Unlimited |
| Layouts | 1 | 3 | Unlimited |
| Remote monitoring | — | ✅ | ✅ |
| Tour App | — | ✅ | ✅ |
| Support | Docs | Priority, 72hr | Priority, 24hr |
Plan deep links such as /onboarding?plan=engineer preselect a plan in the wizard.
Step 4 — Install the DEJA Server
The final step connects your railroad to the real world. It has three parts:
-
Run the installer on the machine connected to your DCC-EX EX-CommandStation (a Raspberry Pi, Mac, or Linux box):
curl -fsSL https://install.dejajs.com | bash -
Connect your account by running
deja loginon that machine. The CLI shows a short one-time code (likeMKQP-37XR) and opens Throttle's Connect Server page in your browser — check the code matches your terminal, pick your new layout, and click Authorize. The CLI finishes on its own, and the server stays logged in from then on. Installing on a headless Raspberry Pi over SSH? Open the printed link from your phone or laptop instead. -
Start the server with
deja start.
While the installer runs, the wizard rotates through setup tips & tricks, and celebrates the moment your server comes online: "Your Railroad is Connected!" From there you're ready to drive trains.
You can click Skip for Now to explore Throttle first and install the server later. The setup steps are always available on Throttle's Home screen and the Devices page.
After Onboarding
Home shows a Set up your railroad card with the install steps until your server connects, then a welcome card. Add your first locomotive from the Roster — the quick-add row only needs the DCC address programmed into your decoder.
Changing Your Plan
Upgrade, downgrade, or cancel at any time from Profile (/profile). Upgrade opens the plan comparison (/upgrade), and Manage in Stripe opens the Stripe Billing Portal for payment methods, invoices, or cancellation. Paid plans begin with a 30-day free trial — you aren't charged until it ends, and cancelling before then costs nothing.
Related Pages
- Getting Started with Throttle -- Your first session, once the server is running.
- Devices -- Link your server and connect your EX-CommandStation.
- Server Installation -- Every install option in detail.